The Squat Fix That Saves Your Knees (One Cue Changes Everything)
If your knees hurt when you squat, you're not squatting wrong — you're missing one cue. Here's the fix, plus the form check most beginners skip.
Gizella Nagyne Palinkas
5/29/20268 min read
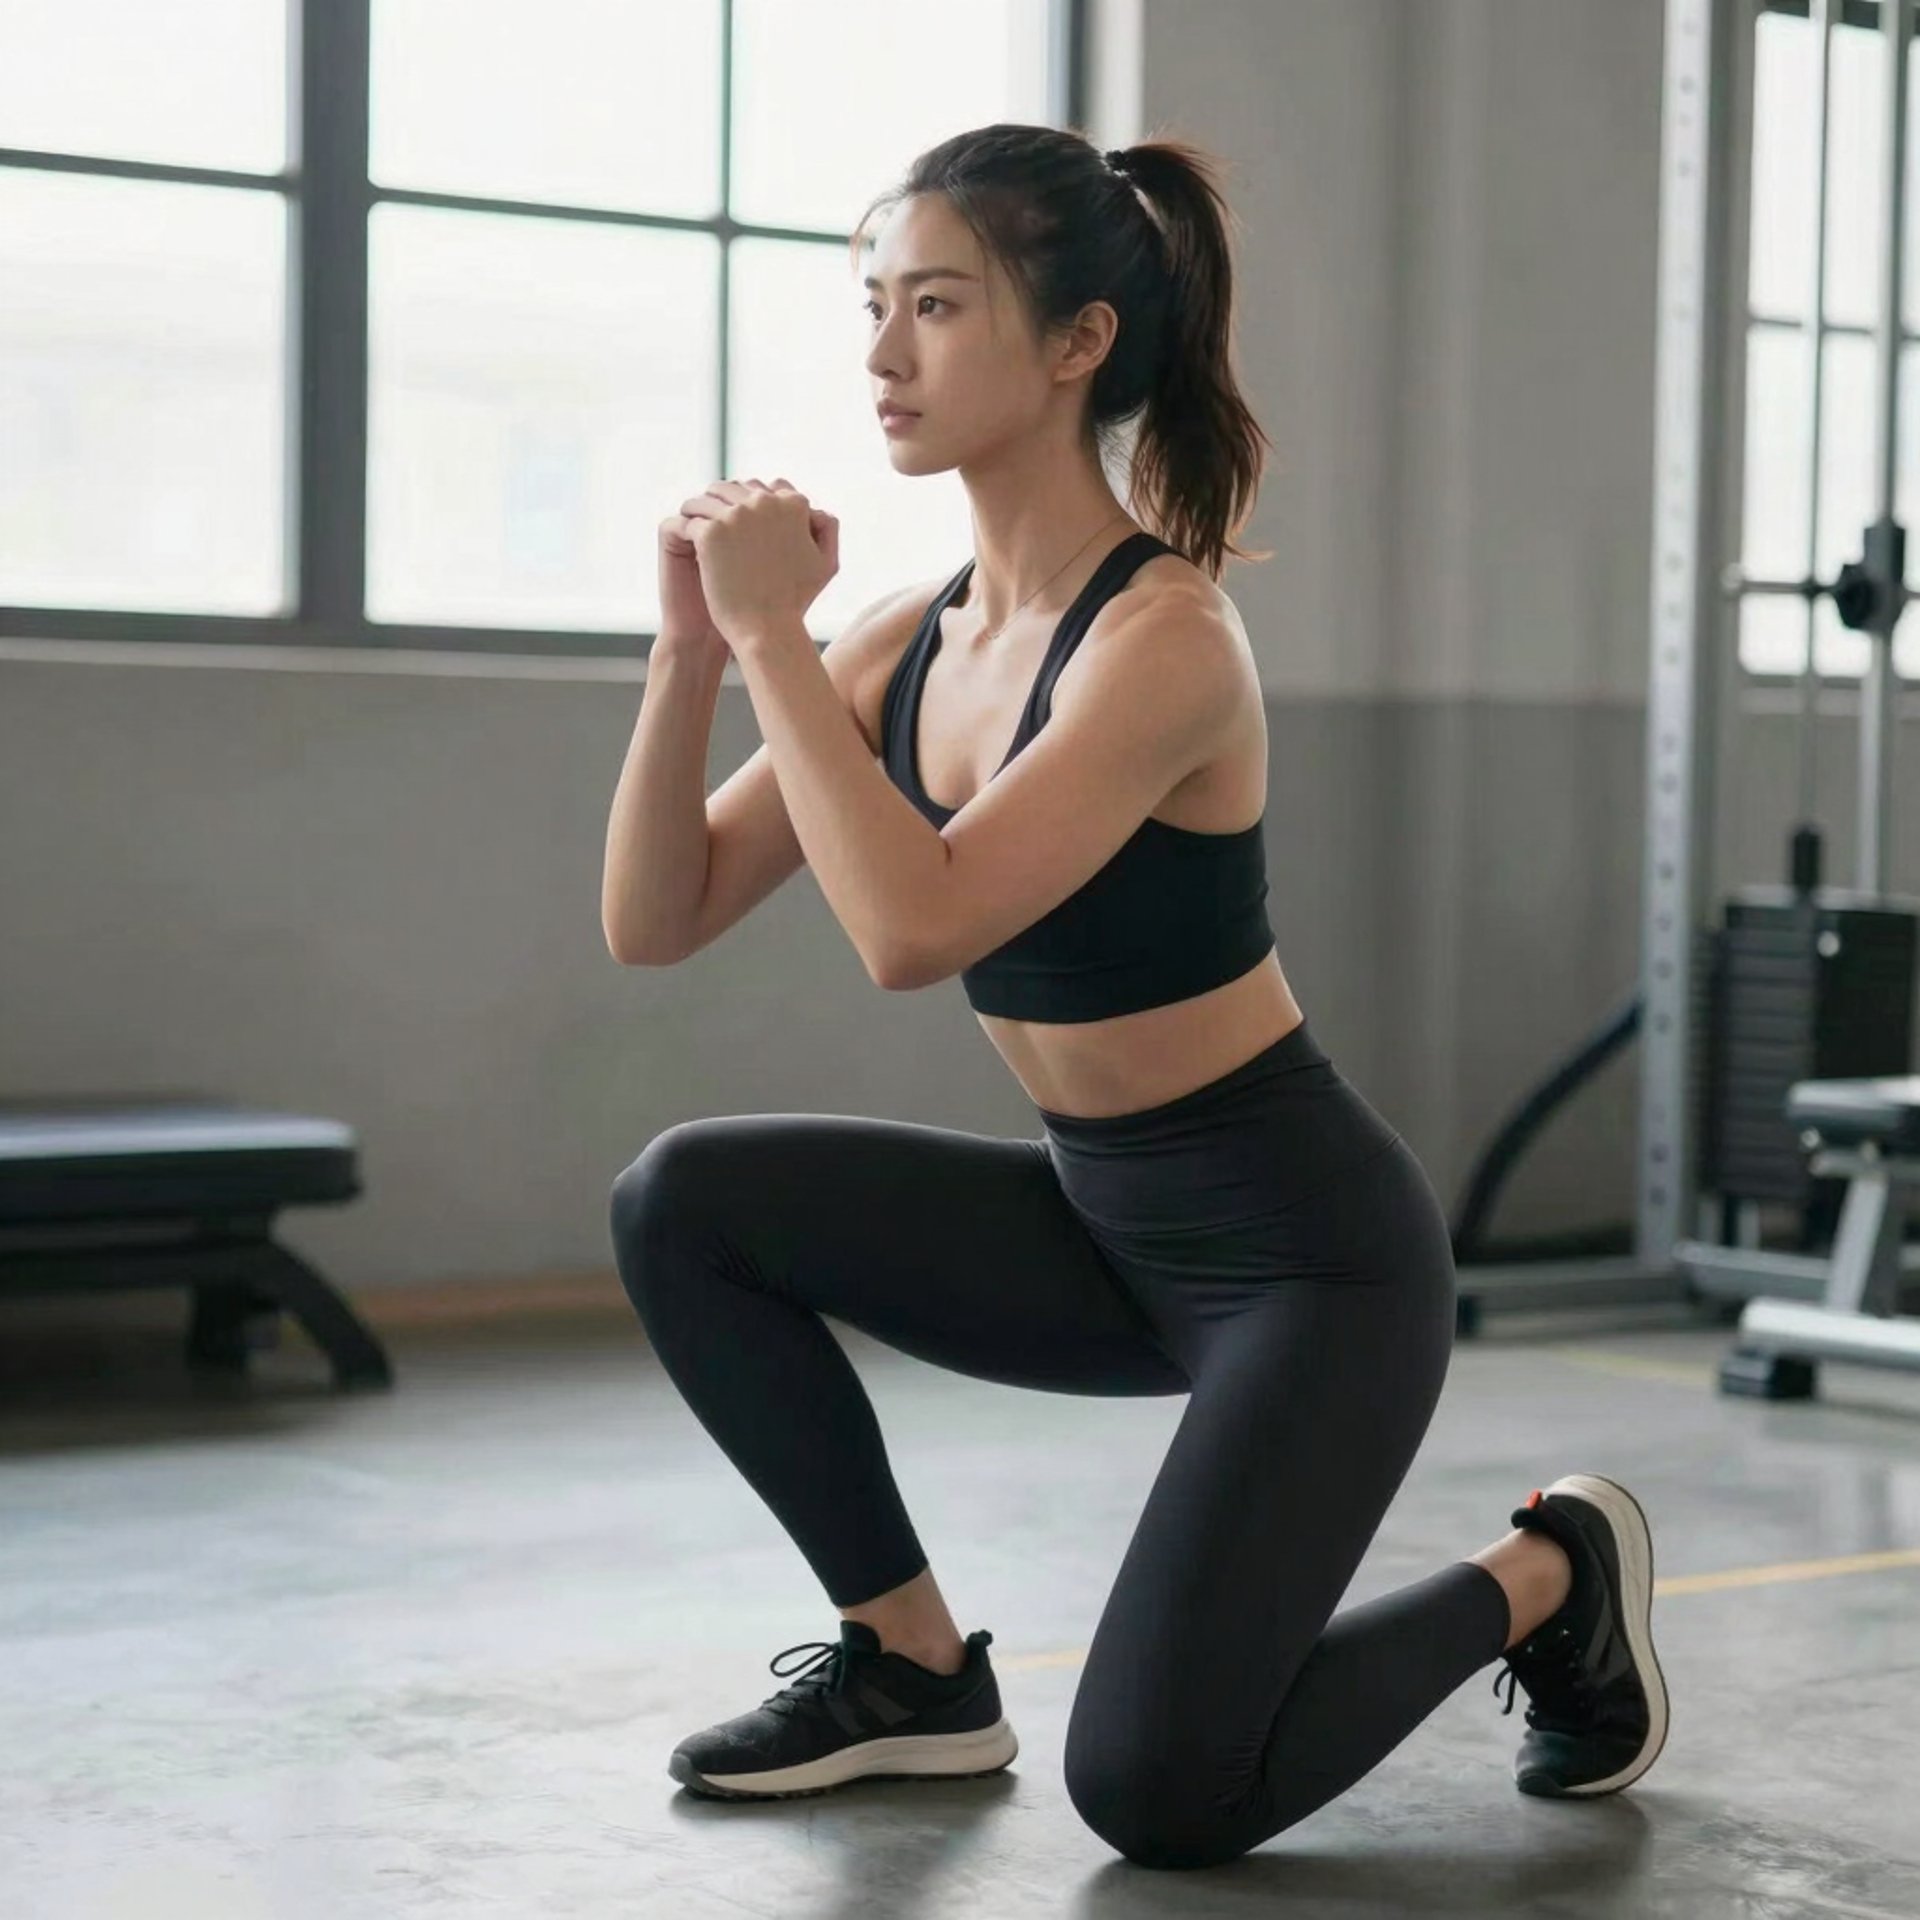
I used to feel a pinching pain on the inside of my knee every time I squatted deeper than 90 degrees. I shortened my range of motion, moved to leg press machines, and quietly gave up on improving my squat. Then a coach watched me for about thirty seconds and said four words: "Let your knees travel." That single cue — giving my knees permission to track over my toes — eliminated the pain almost immediately and transformed my squat within weeks. This article is what I wish I'd had before those years of squatting poorly.
The squat is one of the most fundamental human movements — something we did naturally as toddlers and somehow unlearn as adults. It's also one of the most commonly performed incorrectly in gyms, particularly by women, due to a combination of mobility restrictions, outdated cuing, and individual anatomical differences that most generic "how to squat" guides don't account for.
I want to cover everything: why women specifically tend to struggle with squat form, the one cue that fixes the most common problem, five additional form corrections that matter, and the mobility work that unlocks the squat depth you might have given up on. I'll also address the knee pain concern directly — because squatting correctly is one of the most knee-protective things you can do, and squatting incorrectly is where the problems come from.
Why Women Often Squat Differently — And What That Means for Form
Women's anatomy is genuinely different from men's in ways that affect squat mechanics. The Q-angle — the angle between the quadriceps and the patellar tendon — is typically larger in women due to wider hips relative to leg length. This means women's knees naturally track slightly inward compared to the "ideal" textbook diagram, and their stance width optimums are often wider than standard coaching cues suggest.
Hip socket depth and orientation also vary significantly between individuals — regardless of sex. Some people have deeper hip sockets that allow a more upright torso during squats; others will naturally hinge forward more due to bony anatomy, not mobility. A "good squat" looks different on different bodies, and understanding this is liberating — there isn't one universal squat form, only principles that apply universally.
What women are specifically more likely to experience is knee valgus — the knees collapsing inward during the descent and ascent of the squat. This is partly anatomical (Q-angle), partly muscle weakness (hip abductors and glutes), and partly a mobility issue (limited ankle dorsiflexion forces compensations). Knee valgus is the most common form fault I see, and it's also the most damaging to knee health over time.
The Single Most Impactful Squat Cue: Knees Track Over Toes
For decades, the standard gym advice was "don't let your knees go past your toes" during a squat. This cue was based on a misreading of biomechanics research and created enormous amounts of confusion, incorrect form, and — ironically — injury. Here's why it was wrong, and what actually works.
When you restrict your knees from traveling forward, one of two things happens: either you lean your torso dramatically forward (shifting load to your lower back and hips), or you can't reach full depth at all. Neither is better for your knees than allowing natural forward knee travel. Biomechanical studies have confirmed that while knee-forward positions do increase patellar tendon load, restricting the knee also increases hip and lumbar load — it redistributes stress, it doesn't eliminate it.
The correct cue is this: "Push your knees out and let them track in line with your second or third toe." This keeps the knee in a mechanically sound alignment with the hip and ankle, distributes load across the quadriceps, hamstrings, and glutes evenly, and prevents the inward collapse (valgus) that actually damages knees over time. Your knees will naturally travel somewhat forward as you descend — that's not just okay, it's correct.
The cue that changed my squat: Instead of thinking about where your knees are relative to your toes, think about tracking your knee over your second toe — from the moment you initiate the descent to the moment you stand back up. This single thought keeps alignment right and prevents valgus collapse.
5 Squat Form Fixes That Make an Immediate Difference
Fix Your Stance Width: Feet Hip-Width or Slightly Wider
Most women squat too narrow. Feet at hip width or slightly wider (with toes turned out 15–30 degrees) accommodates female hip anatomy far better than a narrow, toes-forward stance. A wider stance allows the hips to descend between the knees rather than behind them, enabling better depth without forcing the lower back to round. Experiment with your width — the right stance is where you can descend comfortably with a neutral spine.
Brace Your Core Before You Descend
The most underused squat technique. Before you initiate any descent, take a deep breath and brace your entire core (as if you're about to be punched). This creates intra-abdominal pressure that supports your spine throughout the movement. Releasing this brace mid-rep — especially under heavy load — is a significant injury risk. Practice the "big breath, big brace" habit on every single rep, including bodyweight squats.
Push Your Knees Out — Actively, Throughout the Whole Rep
This is the valgus fix. As you descend AND ascend, actively push your knees outward (in line with your toes). This engages the hip abductors and glutes, preventing the inward collapse that stresses the knee medially. You should feel your glutes working even during the descent, not just on the way up. If this is difficult, add banded squats — a resistance band around the knees creates tactile feedback that teaches this pattern quickly.
Keep Your Chest Up and Maintain a Neutral Spine
Excessive forward lean (chest dropping toward the floor) during a squat shifts load from the legs to the lower back. Some forward lean is natural — especially with a barbell on your back — but extreme lean indicates either limited ankle mobility (preventing an upright position) or insufficient quad strength. The cue "chest up" or "proud chest" helps, but if mobility is the root cause, this fix won't stick without addressing ankles and thoracic spine mobility.
Eliminate the "Butt Wink" at the Bottom
Butt wink — the posterior pelvic tilt (lower back rounding) that happens at the bottom of a deep squat — is one of the most commonly debated squat topics. Minor wink at extreme depth is generally considered normal and not particularly harmful. Significant rounding under load is a real injury risk to the lumbar spine. The fix is usually a combination of: limiting depth to where your pelvis stays neutral, improving hip flexor and hamstring flexibility, and improving ankle mobility (which is often the limiting factor).
Mobility Work to Unlock Your Squat Depth
The number one mobility restriction that limits squat depth in most women isn't hip flexibility — it's ankle dorsiflexion. When the ankle can't flex sufficiently (allowing the shin to travel forward as you descend), the heel lifts or the torso pitches forward to compensate. Both compensations create downstream problems in knee and back health.
Here's the 10-minute mobility routine I do before squatting — and increasingly just as a daily habit:
🦶
Wall Ankle Stretch
Stand 4 inches from a wall, drive your knee toward the wall keeping your heel flat. Hold for 30 seconds per side. This is the most direct ankle dorsiflexion drill available. Progress by moving your foot farther from the wall.
🦵
Calf Raises on a Step
Full-range calf raises (deep stretch at the bottom) on a step edge strengthen and lengthen the calf complex. 3 sets of 15 daily improve dorsiflexion meaningfully over 4–6 weeks.
🧘
90/90 Hip Stretch
Sit with one hip in external rotation (front leg bent 90°) and one in internal rotation (back leg bent 90°). Hold each side for 60 seconds. This targets hip capsule mobility — the other common depth limiter.
🦴
Deep Squat Hold
Hold onto a doorframe or rack and sink into the deepest squat you can manage with a neutral spine. Hold for 30–60 seconds. Use your arms to reduce load and focus on relaxing into the position.
🔄
Hip Flexor Lunge Stretch
Kneeling lunge position, anterior pelvic tilt correction, 60-second hold per side. Tight hip flexors often cause early forward lean and prevent a neutral pelvis at the bottom of a squat.
🏋️
Goblet Squat for Form Practice
Hold a light weight at your chest and squat. The counterbalance allows a more upright torso, reinforcing the position. This is the best teaching tool for squat mechanics — use it before adding load.
Common Squat Mistakes — And How to Self-Diagnose
Here's a simple self-assessment: film yourself squatting from the front and the side. This is the single most impactful thing you can do to improve your form, and most women never do it because it feels awkward. What you see on video will likely surprise you. Here's what to look for:
From the front: Do your knees track over your toes throughout the full range of motion? Or do they cave inward on the descent or — very commonly — on the ascent (the sticking point)? Any inward movement is valgus and should be addressed.
From the side: Does your chest stay relatively upright? Does your lower back round at the bottom (butt wink)? Do your heels stay flat on the floor? Does your back stay neutral throughout — no excessive arch or round? These are the five side-view checks that tell you where your mobility and strength limitations are.
Once you can identify your specific faults, the fixes become obvious. Valgus? Hip abductor strengthening and the "push knees out" cue. Excessive forward lean? Ankle mobility work. Butt wink? Limit depth and work on hip flexor flexibility. Heels lifting? Ankle dorsiflexion work — the wall stretch daily for 6 weeks.
Frequently Asked Questions
Should knees go over toes when squatting?
Yes — for most people and most squat variations, some forward knee travel is not only acceptable but necessary for good mechanics. The outdated "knees behind toes" cue causes more problems than it prevents, as restricting knee travel forces excessive forward lean (loading the lower back) or limits depth entirely. The correct focus is on the knee tracking in line with the second or third toe — maintaining lateral alignment rather than limiting forward travel.
Why do my knees cave in when I squat?
Knee valgus (caving inward) during squats has two primary causes: weak hip abductors and external rotators (glutes, particularly glute medius), and/or limited ankle dorsiflexion that forces the body to compensate by collapsing the knees inward. The fix is two-pronged: add hip abductor exercises (banded clamshells, side-lying abductions, banded squats) and improve ankle mobility (wall ankle stretch, calf raises). The cue "push your knees out" provides immediate feedback during squats.
How deep should women squat?
The goal for most women should be parallel (thighs parallel to the floor) or below — this range of motion activates the glutes and hamstrings most effectively and produces the greatest training benefit. However, the correct depth is always the deepest you can go while maintaining a neutral spine and flat heels. Forced depth with butt wink and rounding is worse than shallower squats done well. Work on mobility to improve depth over time rather than forcing it immediately.
Is squatting bad for knees?
No — squatting with proper form is not harmful to healthy knees. In fact, regular squatting strengthens the muscles around the knee joint (quadriceps, hamstrings, glutes), which is protective against knee injury over time. The problems arise from squatting with poor form — particularly knee valgus and extreme forward lean under heavy load. The movement itself is not dangerous; the form variable is. If you have existing knee pathology, consult a physiotherapist before loading squats.
What mobility work helps with squat depth?
The three most impactful mobility targets for squat depth are: ankle dorsiflexion (wall ankle stretch, deep calf raises), hip flexor flexibility (kneeling lunge stretch, couch stretch), and hip capsule mobility (90/90 stretch, pigeon pose). Of these, ankle dorsiflexion is the most commonly overlooked and often the most limiting factor. Just 5 minutes of ankle mobility work daily for 4–6 weeks produces measurable depth improvement for most women.
What are the most common squat mistakes women make?
The top five common mistakes: (1) Knee valgus — knees caving inward, especially on the ascent; (2) Heels lifting — usually caused by limited ankle dorsiflexion; (3) Excessive forward lean — chest drops too far, shifting load to the lower back; (4) Butt wink — lower back rounds at the bottom due to limited hip or hamstring flexibility; (5) No core brace — failing to create intra-abdominal pressure before the descent, leaving the spine unsupported. The good news: all five are correctable with targeted practice and mobility work.
Copyright © 2026 Health & Fitness with Ella. All rights reserved.